Welcome to our stencil workshop
Stencil workshop (3 hours)

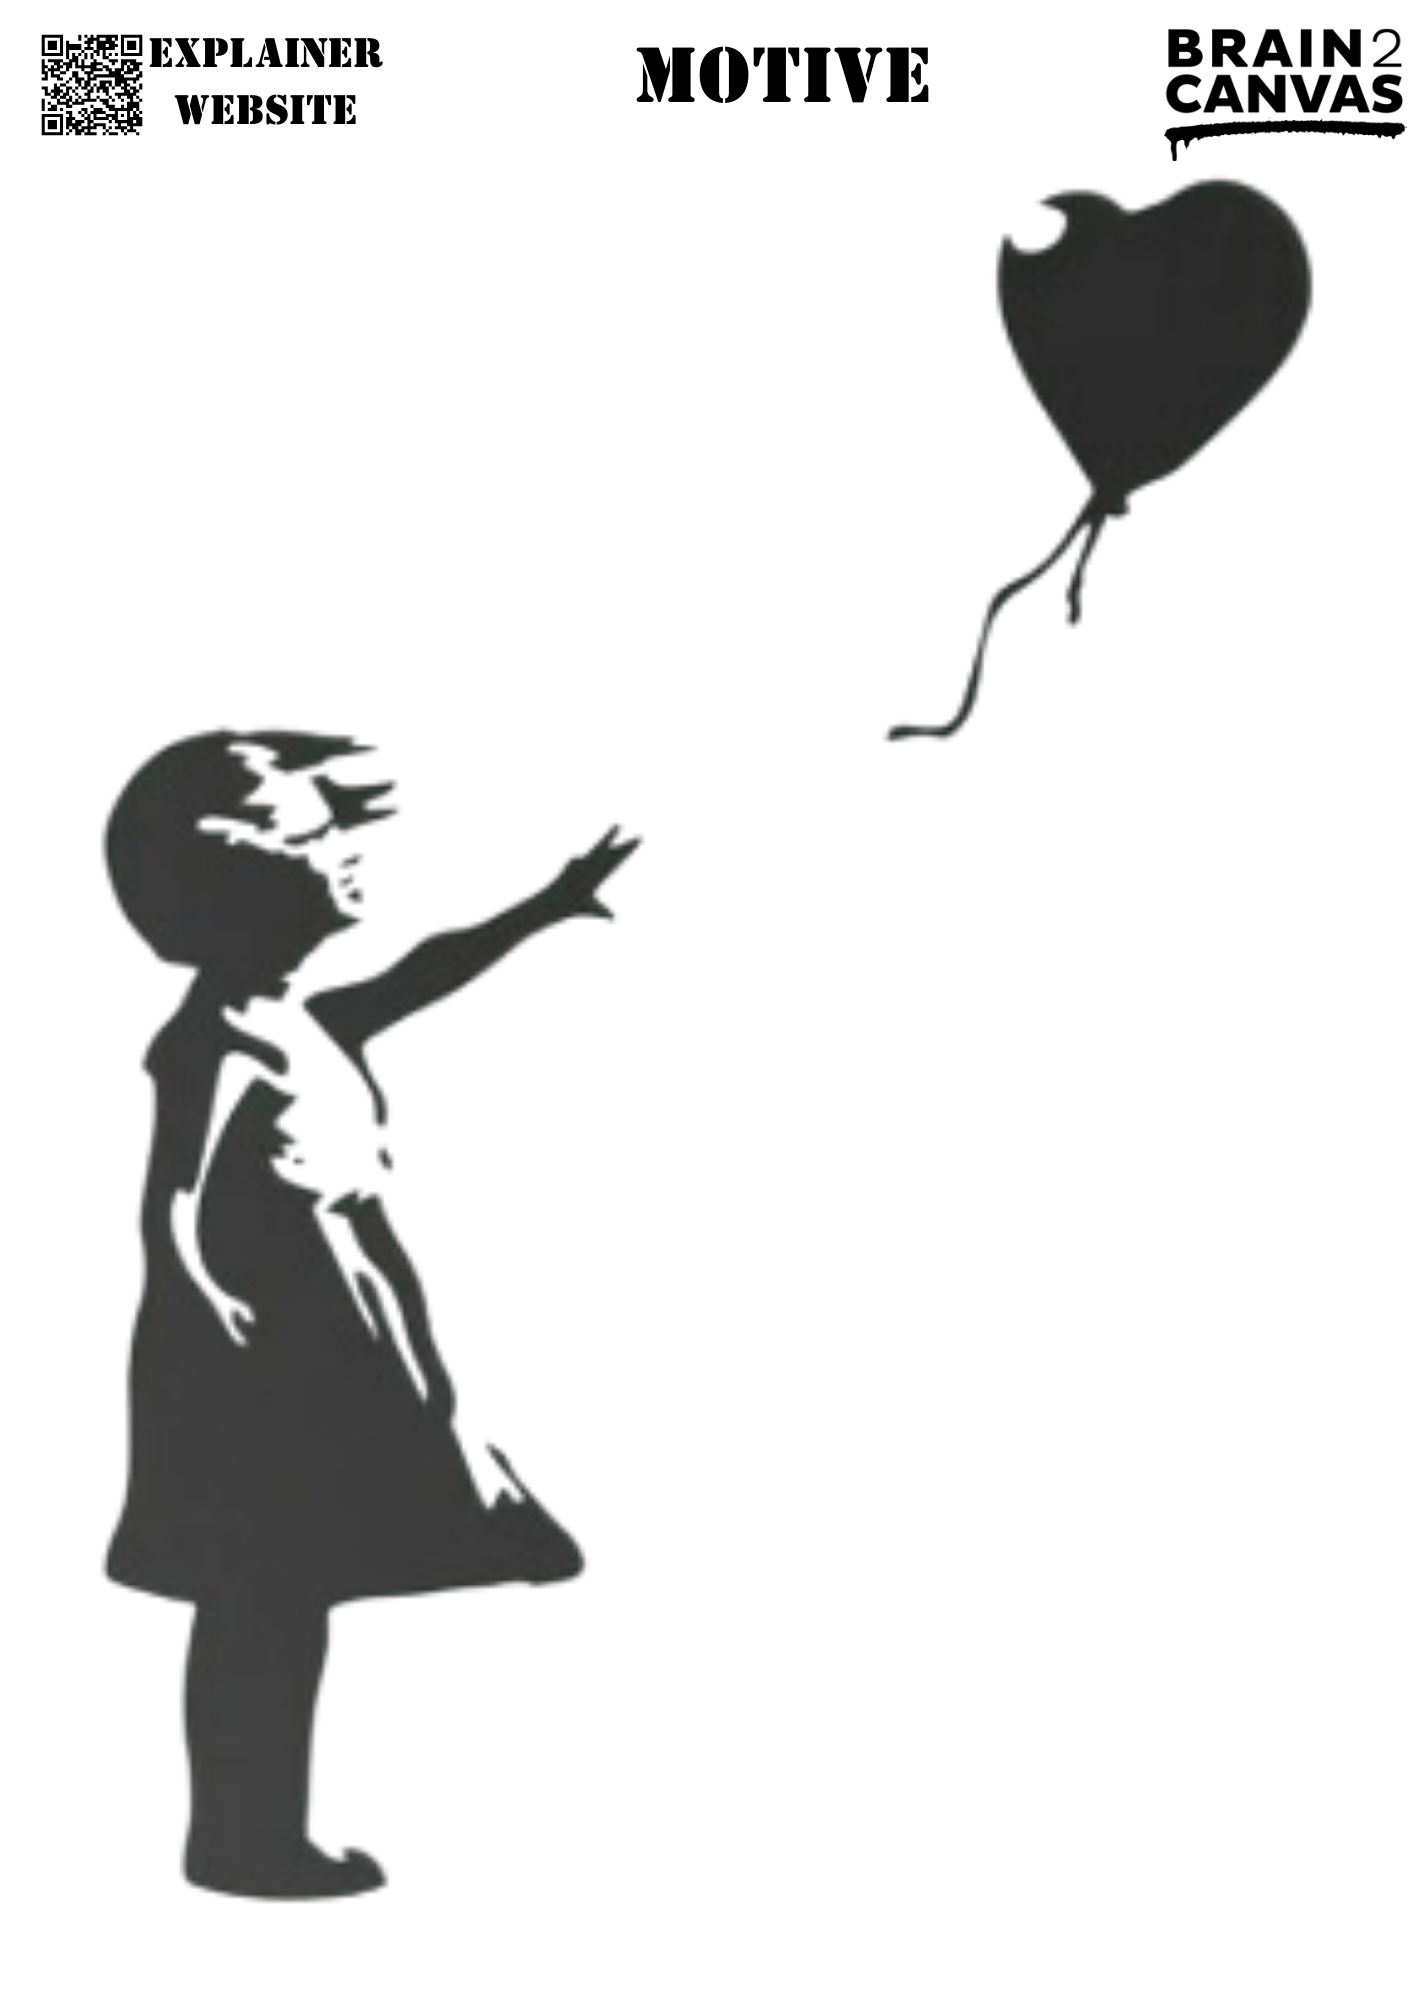
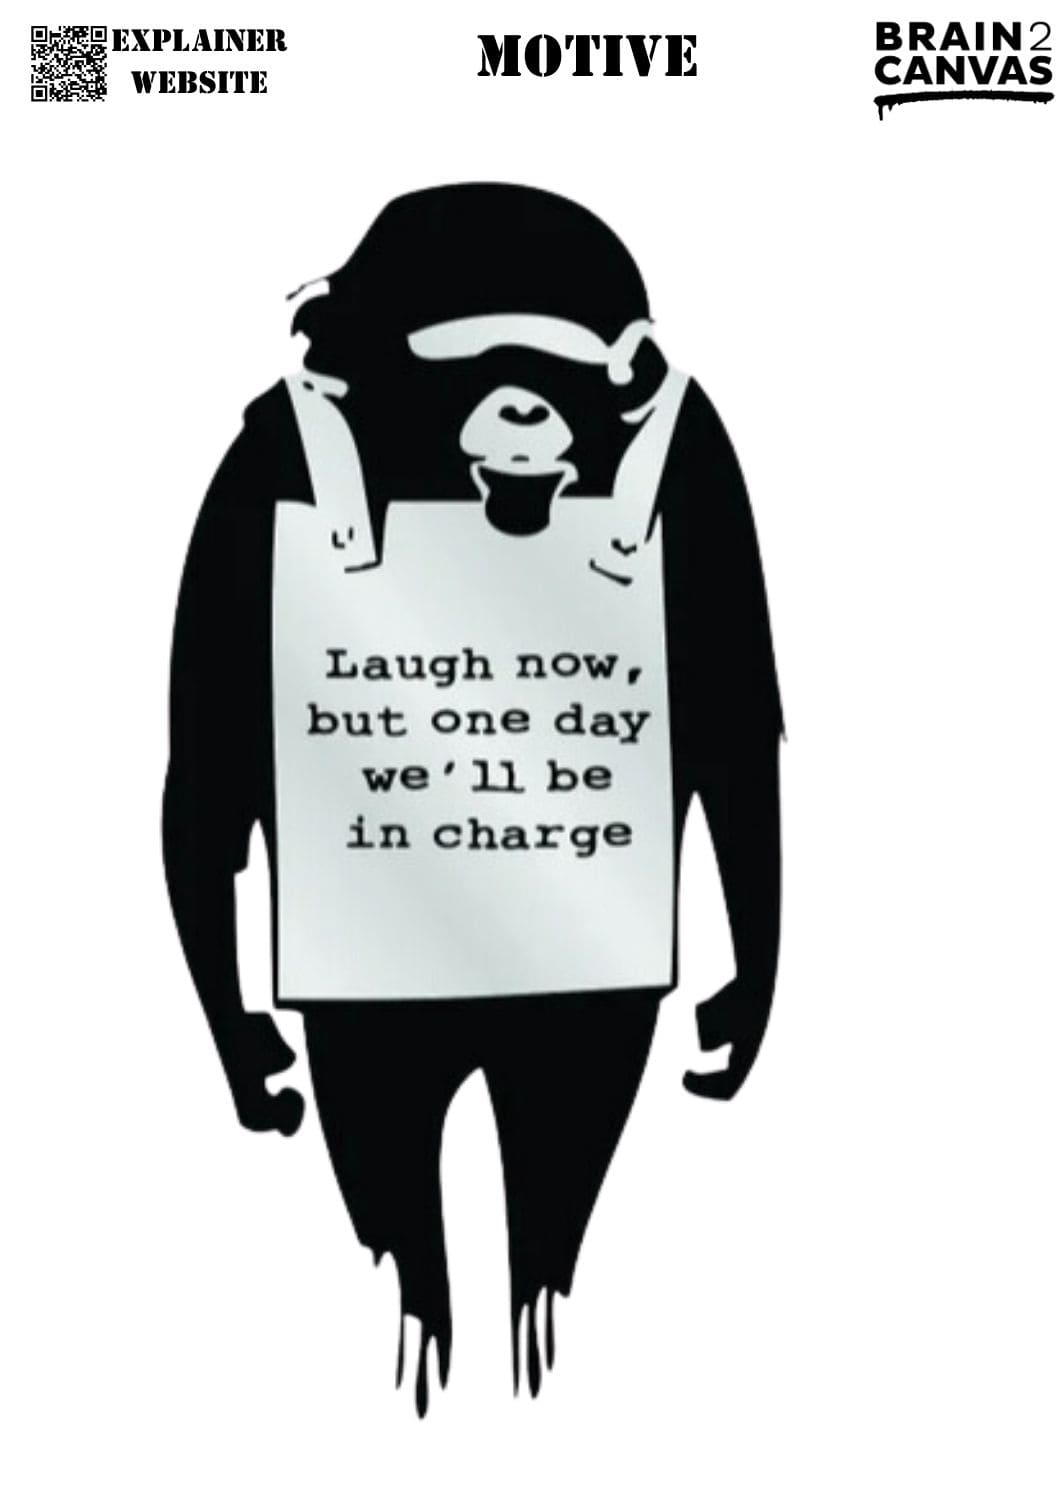
Choose your Schabolen (Stencil)
Motif

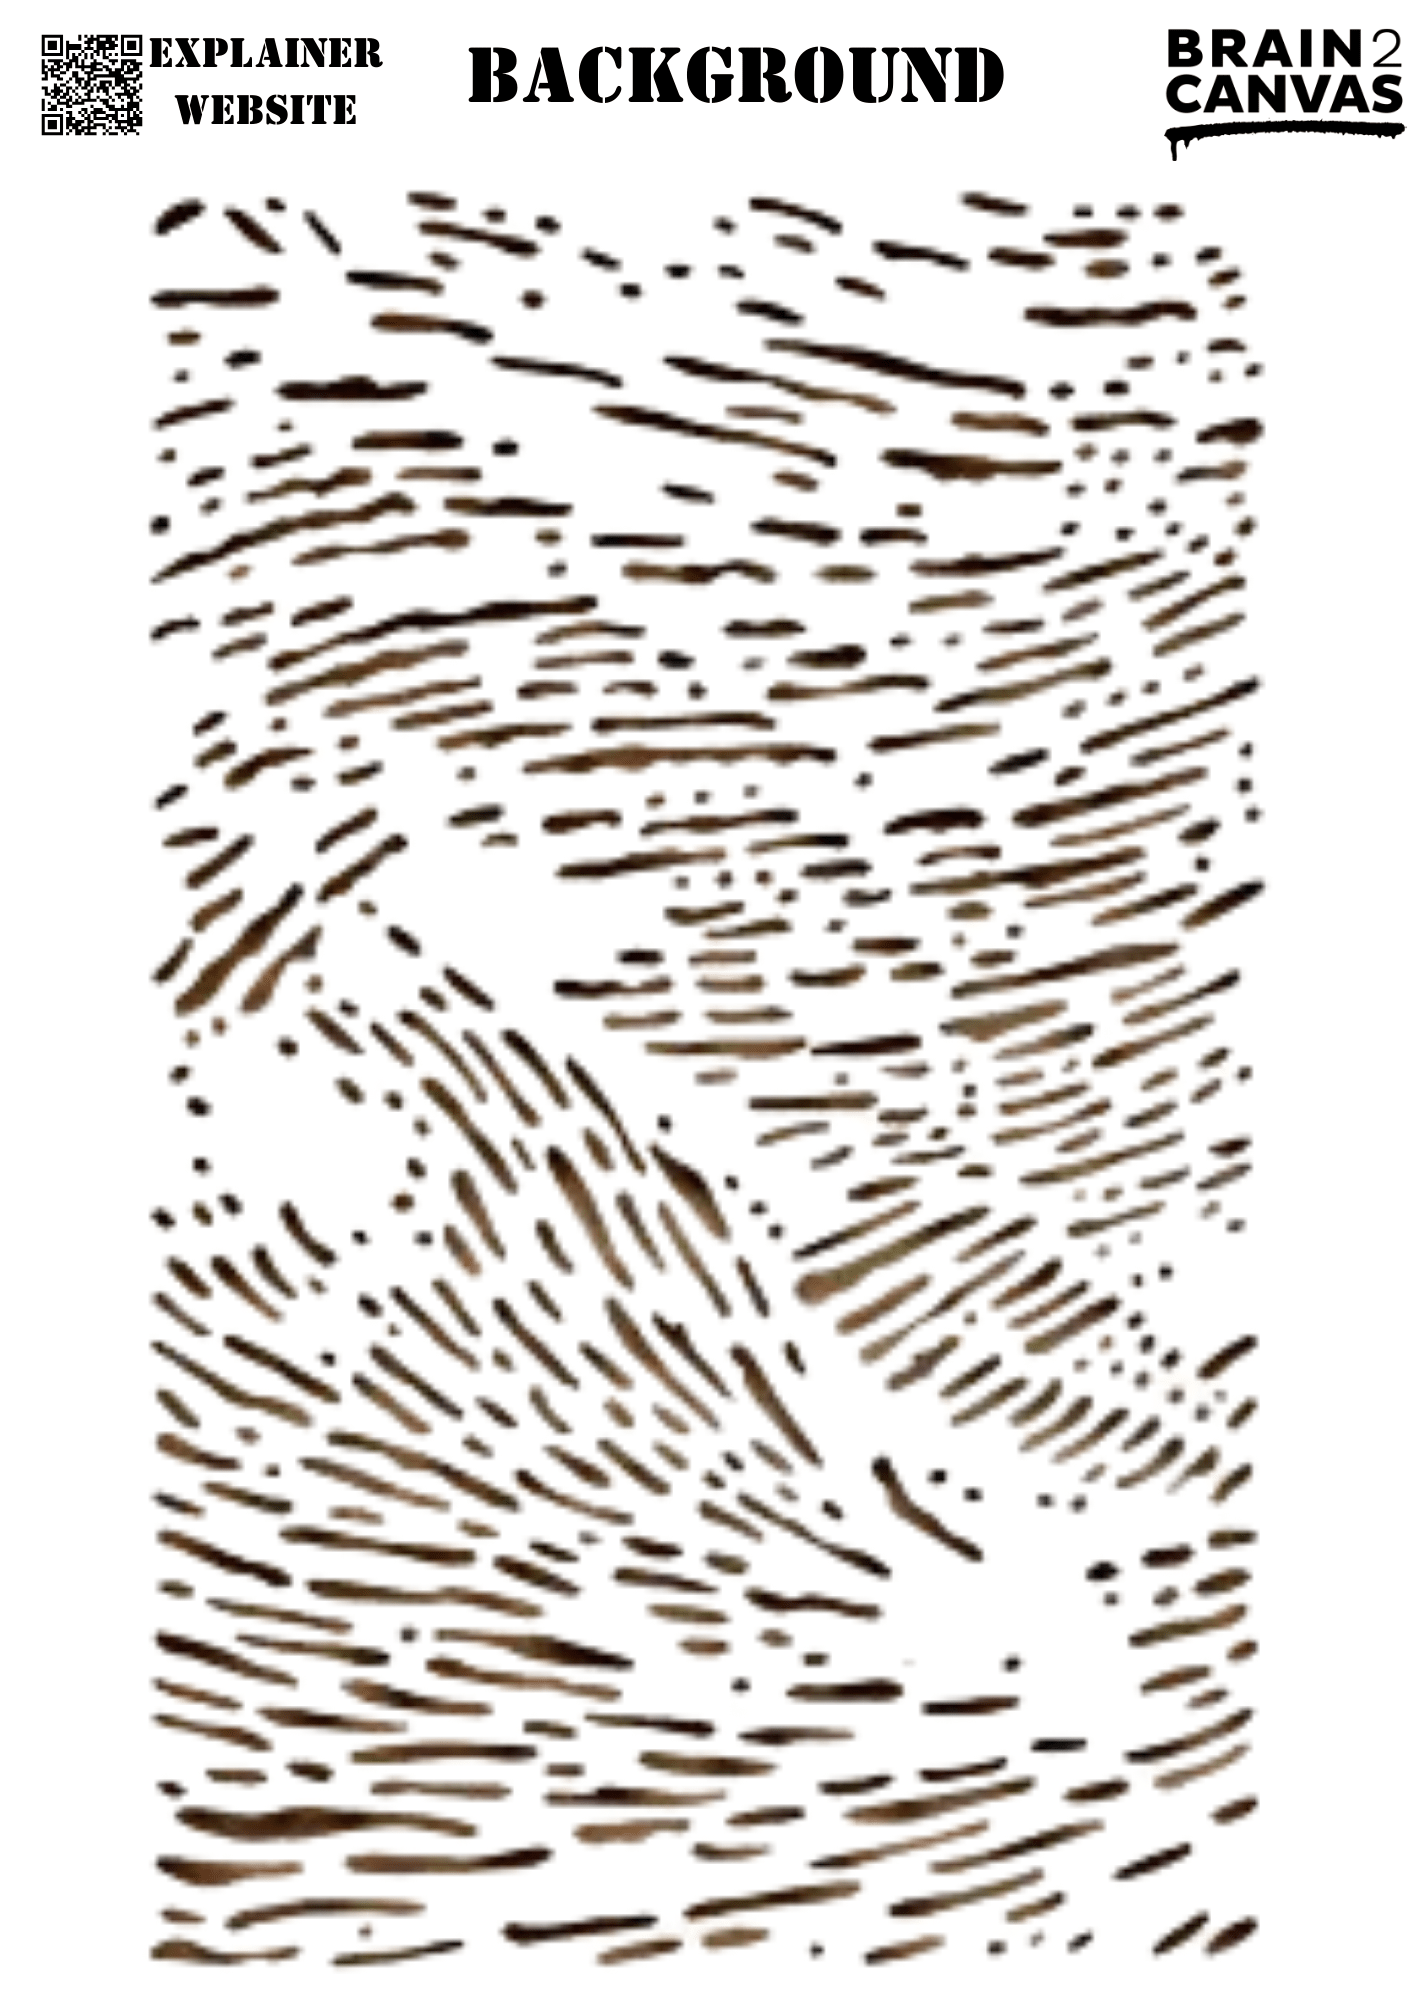
BACKGROUND

Cut out the stencil
You need
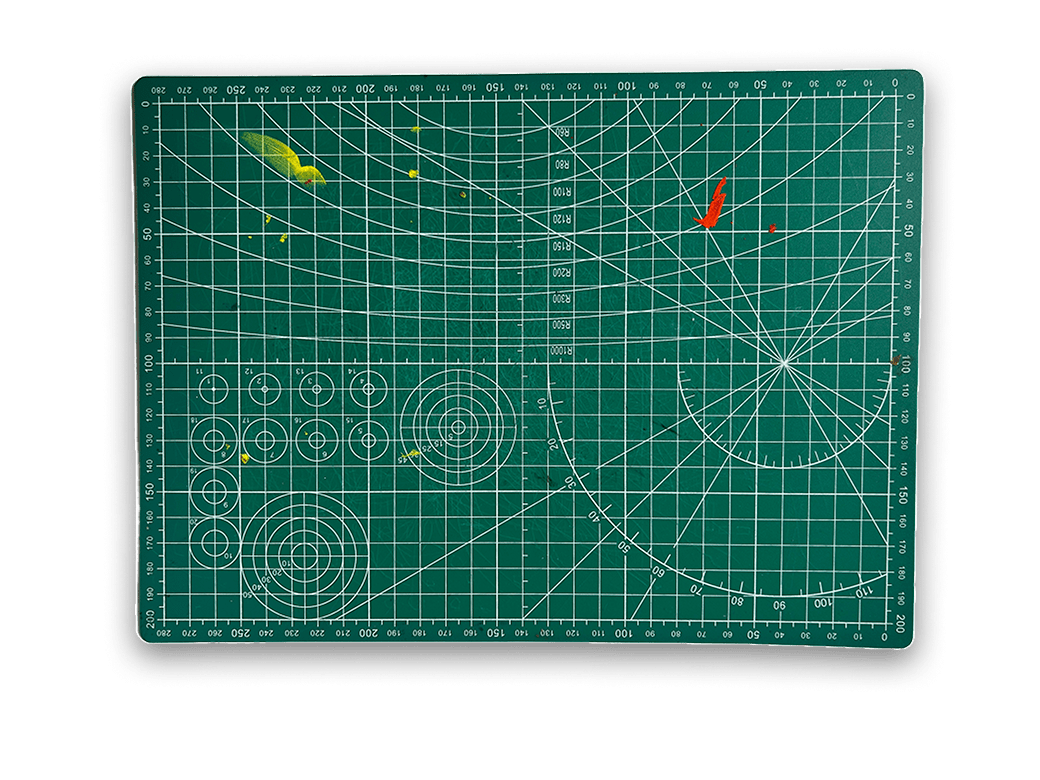
Cutting board
Paint
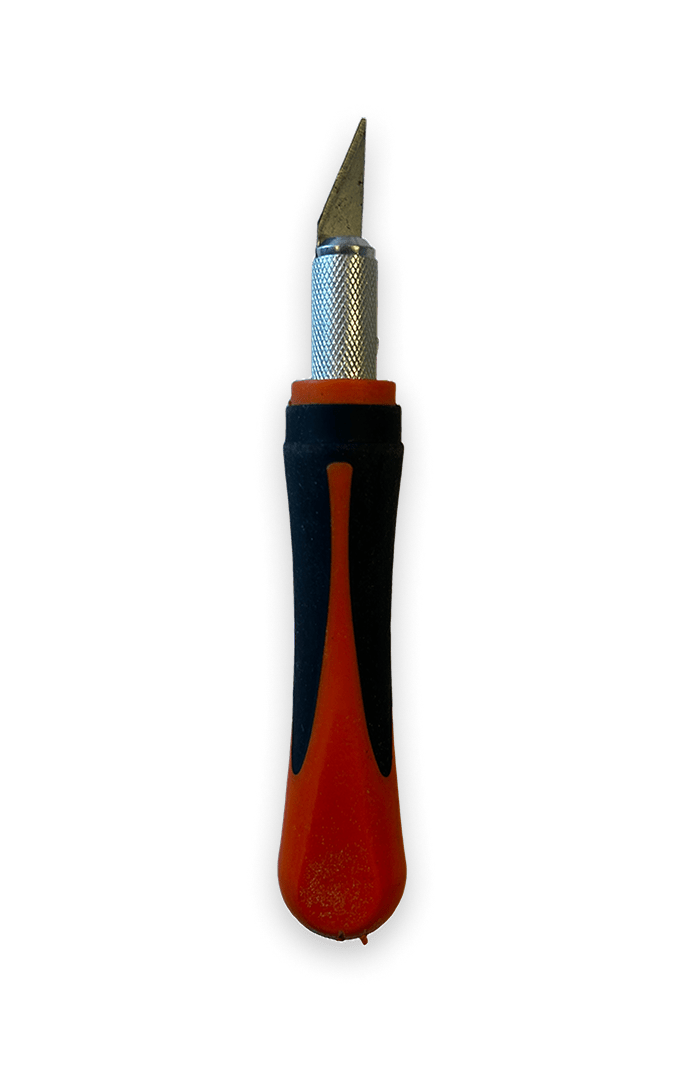
Scalp
This is how it works
Create your artwork
Options for coloring:
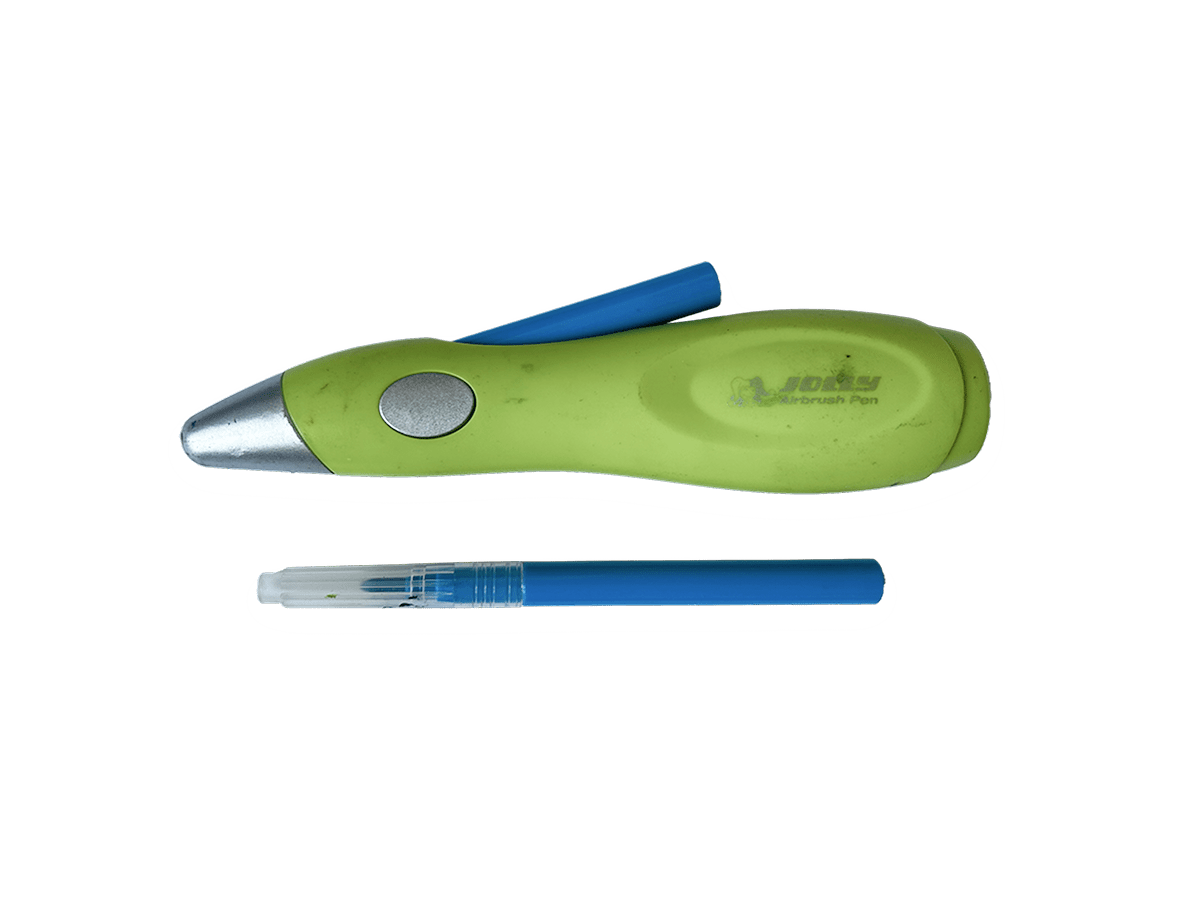
Airbrush
Filter
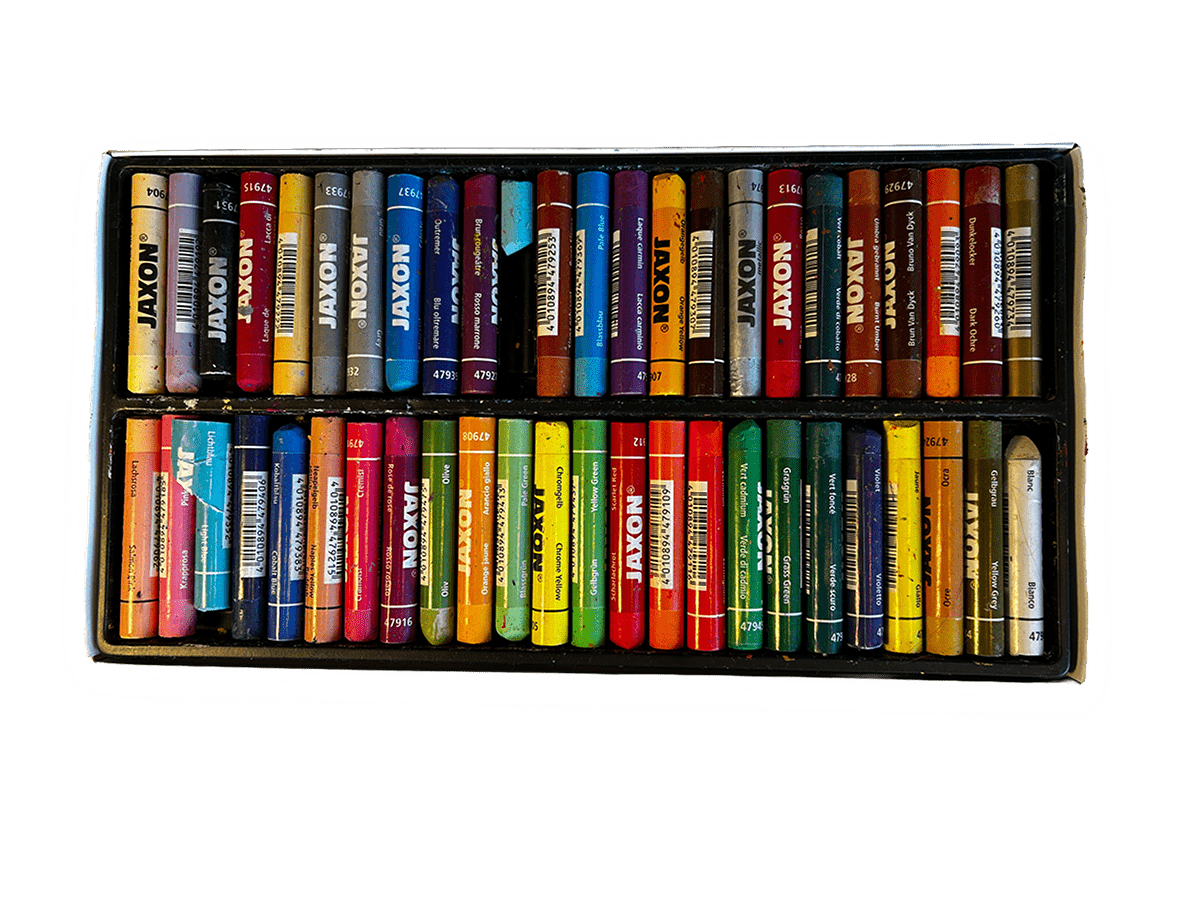
Jaxon chalk

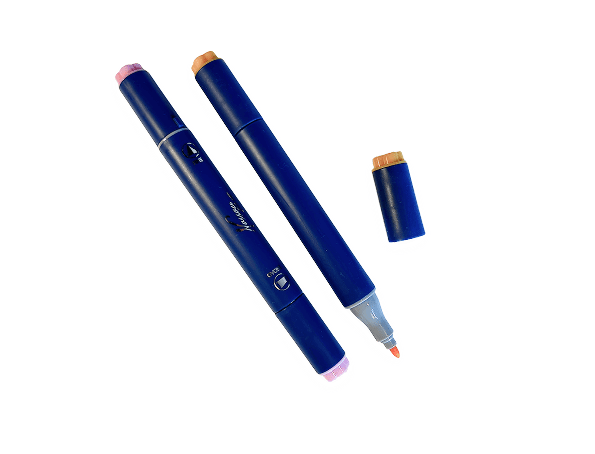
Acrylic marker
This is how it works
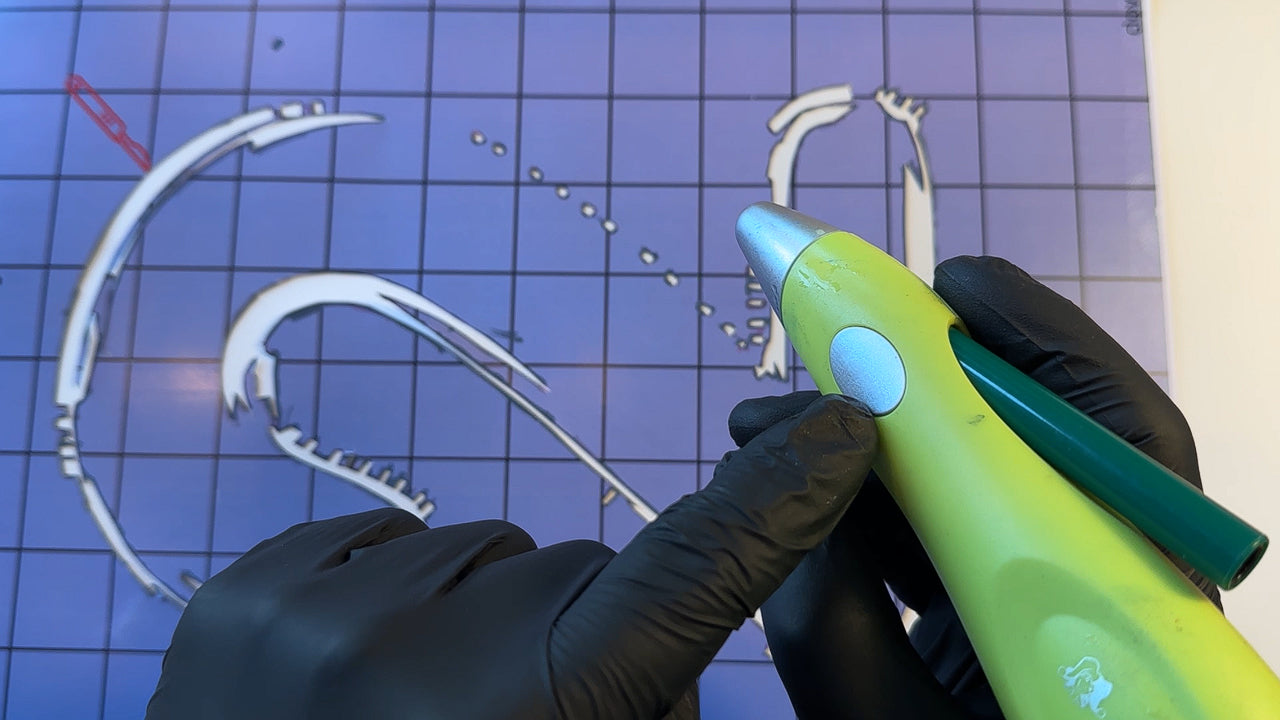
Example: airbrush
Tools & tips
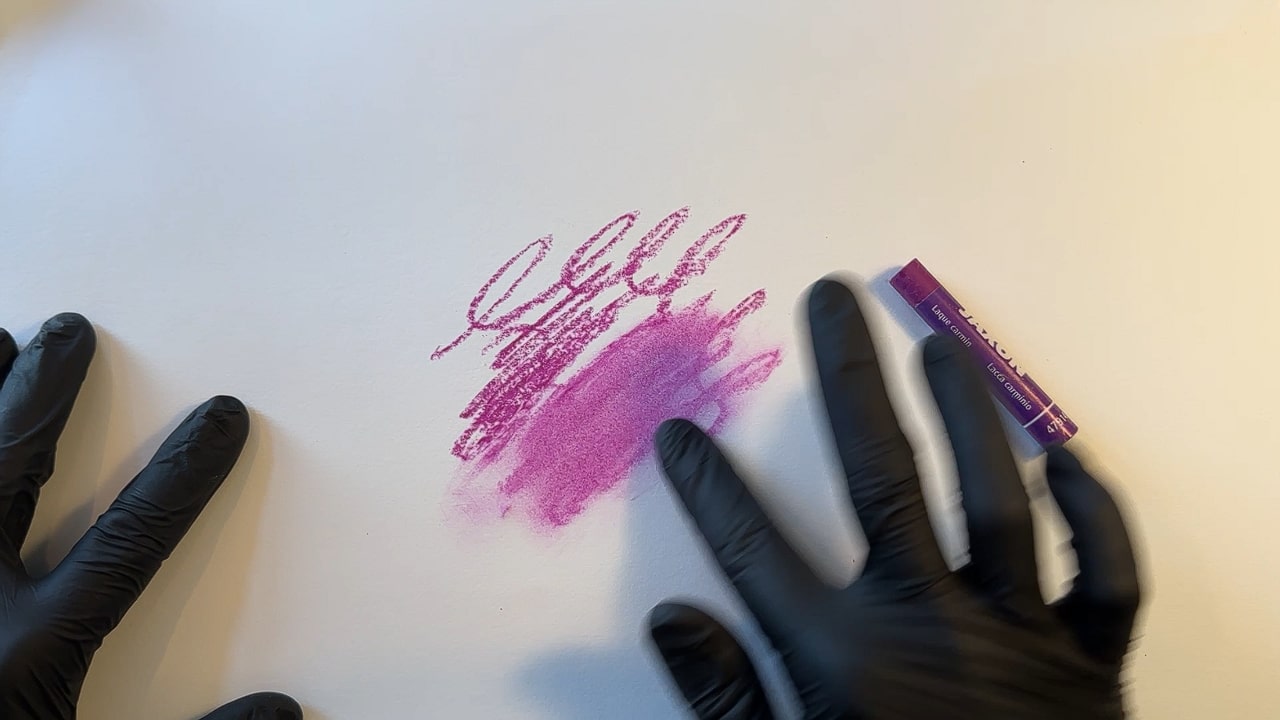
Tool: Jaxon chalk
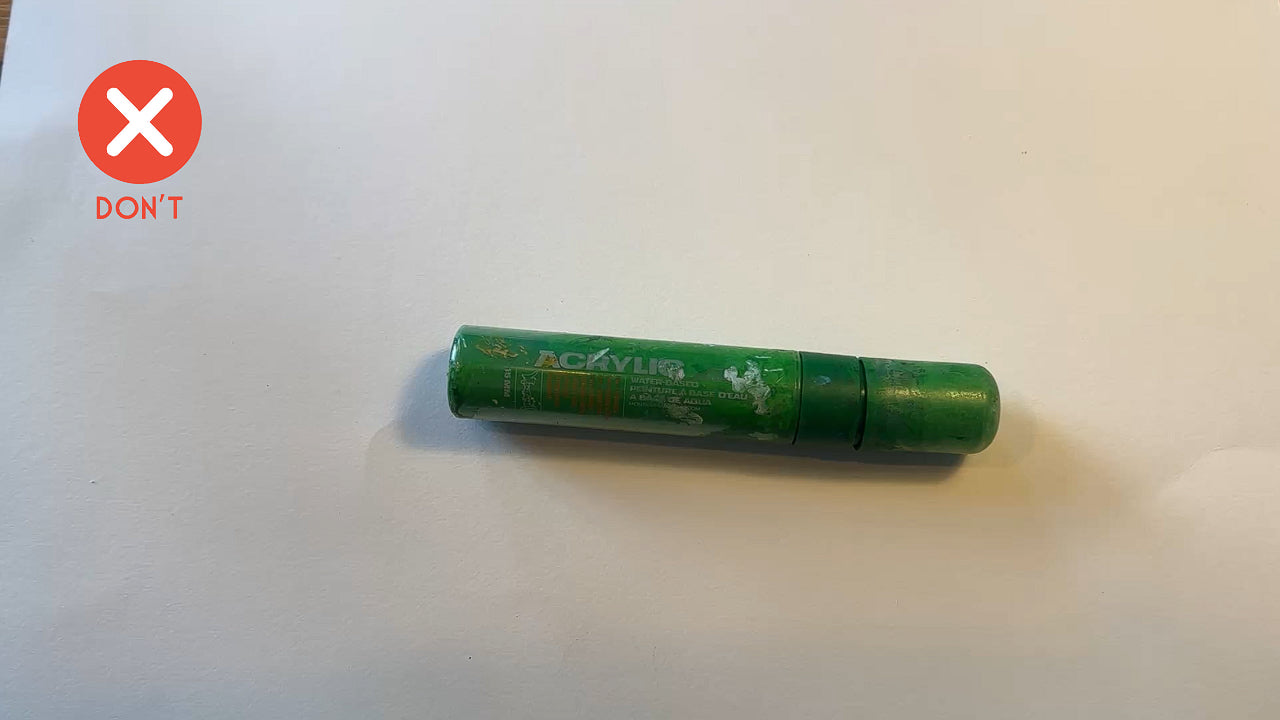
Tip: acrylic marker
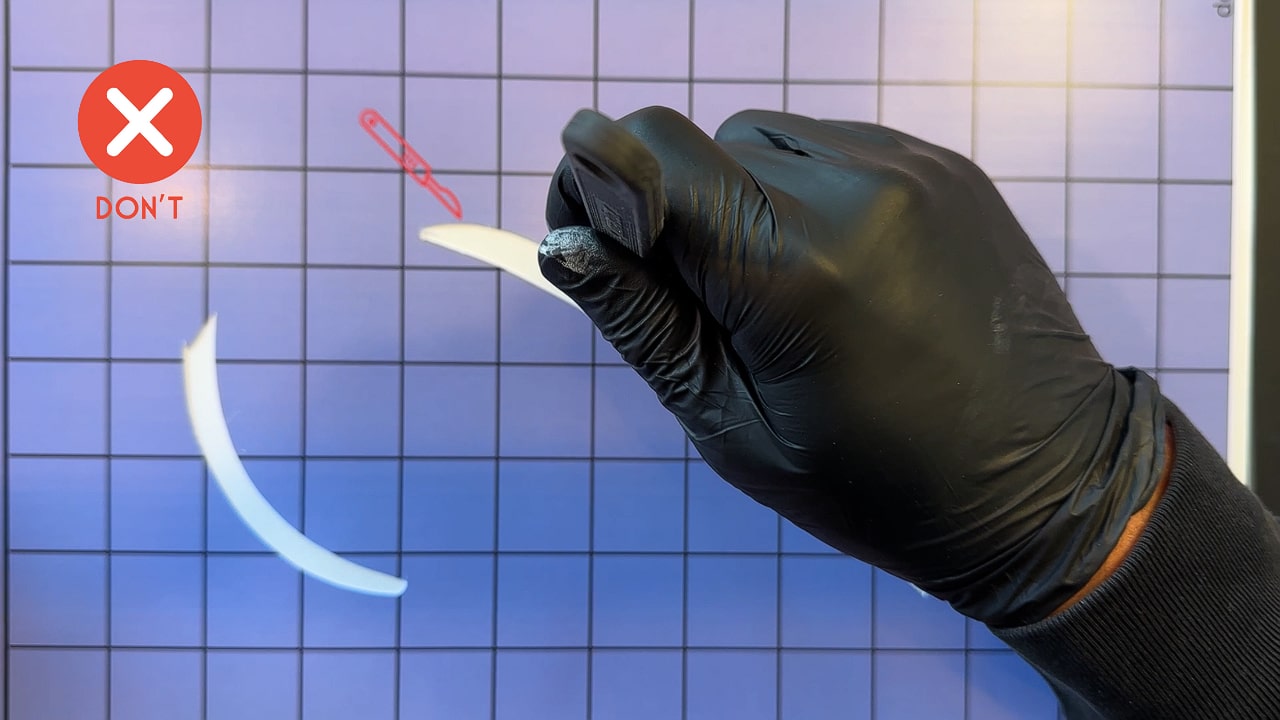
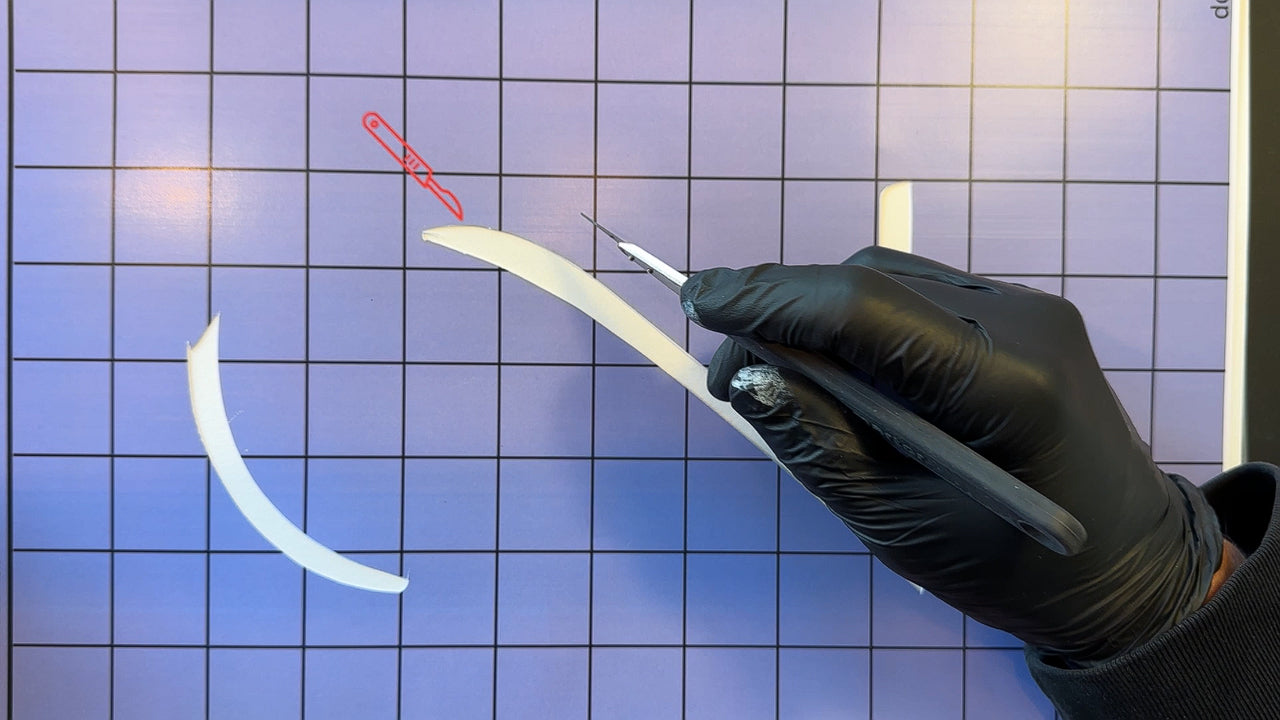
Tip: cut better